You know the sensation: A bit into class you start feeling some tingling in your hands and up into your fingers. You shake them out, hoping to relieve the dull ache, but it doesn’t seem to make a difference. What do you do?
Many cyclists, both indoor and out, from novice to pro, experience hand numbness from time to time. Compressed nerves in the shoulder, elbow or wrist can cause a tingling feeling that can take several hours to dissipate after your class is over. While the ideas below may not permanently prevent the problem, they can help alleviate or reduce numbness during class.
1) Take weight off of your arms: Whether you’re aware of it or not, it’s easy to fall into a habit of sitting in a more forward position. Next time, think about sitting back on the saddle and use your core instead of your arms to support your body.
2) Change your hand position: The standard bike has three distinct and positions: the drops, the hoods and the tops. Each has their own advantage in certain situations, but it’s important to keep your hands moving between the three to keep blood flowing and take pressure off certain nerves. Don’t spend too much time in one position.
3) Change your arm position: Locking out your elbows while riding is never a good idea. Ride with a slight bend in the elbow instead of riding with your arms stretched out straight. If this doesn’t feel comfortable, it might be time to have your instructor give you a bike fit.
4) Relax: You don’t need to white knuckle your handlebars when riding. Gripping the handlebars to tightly creates tension that can make your hands go numb. If this sounds like you, it is simple: relax and move your fingers. Not only will the numbness subside, but you enjoy your ride more.
5) Buy a pair of cycling gloves: Similar to double wrapping your bars on an outdoor bike, cycling specific gloves have built in padding that protects sensitive pressure points and nerve endings.
6) Get a bike fit: Whether your hands are numb or not, you should ask your instructor to give you a bike fit. They should use a plumb bob and goniometer, if not, you may not be getting a great fit.
7) Stretch: Cycling is a repetitive sport, so immobility and imbalance issues can sneak up on you before you know it. Working on your range of motion and flexibility on a regular basis and help alleviate numbness both on and off the bike. Try for arm stretches, rest rolls and shoulder rolls to strengthen and improve flexibility over time, before and after each class.
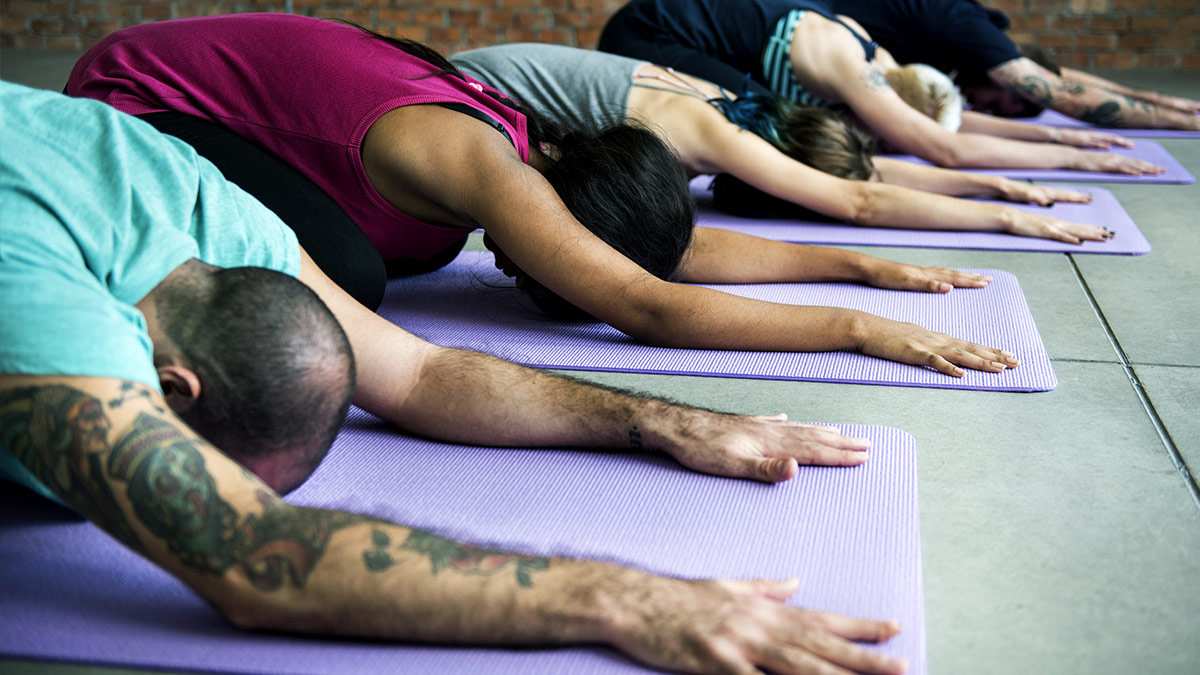
Yoga can be a great addition to any endurance athlete’s training plan and overall health. It can improve your strength and balance, as well as give you a heightened sense of how your body moves. But like all aspects of fitness, it’s not without risks.
The Benefits of Yoga for Endurance Sports
Yoga helps develop strength through controlled movements and poses. In any sport, consistent movement is vital for efficiency and injury prevention. Consider running – the connection of your feet to the ground, where you toe-off, your body symmetry in dynamic movement, and your posture are all dependent on good core strength. Boat pose, downward facing dog, locust pose and plank are examples of poses that build strength and stability.
Yoga also develops balance. Cycling (cornering, descending, and out-of-the-saddle climbing), swimming (holding streamlined body alignment during rotation), and running (maintaining a limber, dynamic gait through technical cross-country courses) can all benefit from better balance. Tree pose, warrior, and side plank are good examples of poses that develop balance.
As you move through various poses, remember to breathe into the stretches and be mindful of how your body is feeling as you work through any discomfort. This will give you context in racing and training and help you hone in on imbalances. Simply slowing down your day and moving through a flow session with intent and focus can also be incredibly relaxing.
The Risks of Yoga for Endurance Athletes
If you are in the thick of training for a 100-mile century ride, an hour of strength-intensive vinyasa yoga at the end of the day may take away more than it provides. Even practicing yoga on your recovery day can be too much exercise. To continue yoga without adding fatigue during heavy training blocks, choose a beginner class, or opt for yin yoga, which is more regenerative.
Injury can be a concern in yoga as well. Athletes tend to be physically competitive in nature, which isn’t always ideal for deep stretching. To avoid going down with a yoga injury, try to err on the side of under-doing your poses. Remember, there’s no prize awarded at the end of class to the downward dog champion! Instruction quality is also important. An experienced instructor can help you avoid excessive soreness, a strained muscle, or joint injury.
It’s also a good idea to approach bikram (hot) yoga with caution. It’s a style of yoga enjoyed by many, and can help with heat adaptation for hot climate races. On the flip side though, it can also contribute to fatigue and dehydration. Additionally, the heat opens your joints and muscles for further range of motion, which may increase the risk of a strain or a tear.
Whether you are a yoga novice or a veteran returning after a break, adaptation is key. Yoga should be supplementary to your training, not deleterious. Be consistent and ease into it gradually over a span of three to four weeks. Learning new skills can benefit your main sport as well as overall long-term health and happiness. Be calm, consistent, and patient, and yoga will be a great supplement to your endurance training protocol.
By Lance Watson, LifeSport head coach, has trained a number of Ironman, Olympic and age-group Champions over the past 30 years. He enjoys coaching athletes of all levels. Contact Lance to tackle your first IRONMAN or to perform at a higher level. For more training tips, visit LifeSport Coaching on Facebook or on Twitter at #LifeSportCoach.
Have you ever been on your bike, inside or outside, and your hands go numb when you ride?
Then you take your numb hand off the handlebars, shake it around for a bit, drop it to your side, and wait for the tingling to stop and the feeling to come back.
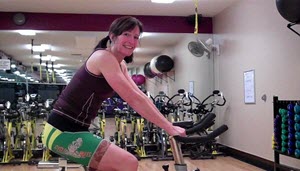
A couple of nights ago in one of our cycling classes, this very question came up about “numb hands” when you ride. I want to help you have a more comfortable ride — both indoor and out side. Here's a video that shows it all!
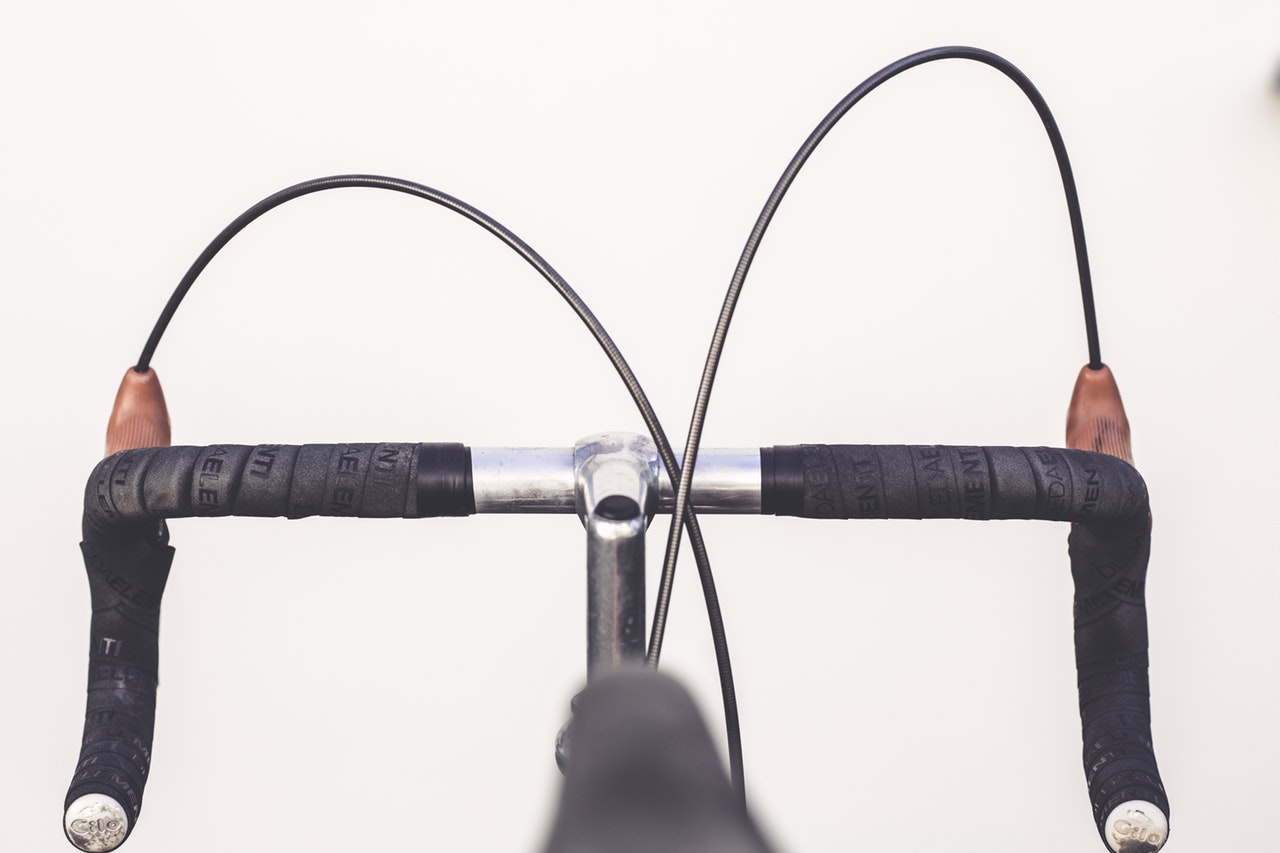
Roll Your Wrists No “cocked” wrists for any position on your handlebars! You should have a nice long line from your forearm to the top of your hand. If you are bent at your wrist (with your wrist down), you are putting a lot of pressure on the carpal tunnel and medial nerve. Use a Light Grip No death grip on your handlebars. Hands should have enough grip for balance and steering, and that’s about it. Of course, if you are on a mountain bike trail, you are actually using your arms and body to lift your front wheel or bike from time to time, so you’ll have a tighter grip when you need it.
Redistribute your Weight No heavy leaning on your handlebars. Weight should be in your saddle. If your “reach” to your handlebars is too long, you may be putting too much weight on your handlebars. This can be changed by bringing your handlebars closer to your saddle (indoor cycle adjustment, out door bike shorter handlebar stem) OR bringing your saddle closer to your handelbars. If the latter, be careful that you don’t throw your knee to foot alignment off — when your foot is in the 3:00 o’clock position (forward), you want your knee aligned with where the pedal attaches to the pedal arm. If your knee is forward of this point, you are putting too much forward force pressure on your knee and may feel pain in the front of your knee pain.
Soft Elbows No stiff straight arms! Keep a slight bend in your elbows all of the time. This is like the “athletic ready” position with a slight bend in your knees, except …..that it is in your elbows. Not only will this help your circulation, but you’ll be ready to absorb bumps and road noise when you are outside.
Relaxed Shoulders Take your shoulders out of your ears…try this exercise: Take in a big breath and raise your shoulders as close as you can to your ears, now as you exhale, relax your shoulders all the way down. This is where you want them when you ride.
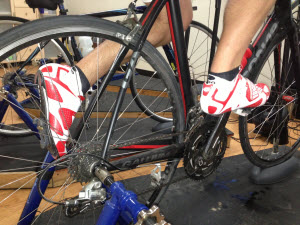
During a class I attending yesterday, the Instructor had everyone doing one-legged pedaling drills… one legged as in pedaling with one foot un-clipped and held out to the side or rested on the frame.
That's wrong/contraindicated… isn't it?
My initial reaction was to do what I normally do in this situation, I would just ignore his cue. Unfortunately I was setup in the dead center of the room and I quickly saw that I would be the one rider (of about thirty) NOT riding with just one leg. So I popped my left foot out and joined everyone else.
OK, so what's wrong with this? Was my first thought, as I began focusing on smoothing out my pedal stroke. This feels like what I remember from riding my old Schwinn Paramount road bike, on a trainer, back in the 90's
Looking around the room, I didn't see anyone riding with any difficulty or appear to be off balance or unsafe. All I saw were cyclists doing exactly what they're supposed to be doing during one-legged drills; trying to make up for the missing leg's influence at the “dead spots” in the pedal rotation – which is the purpose of the exercise. This wasn't a class of cyclists, but rather the typical diverse group of club athletes we all see each week.
So why is one-legged cycling viewed as contraindicated in our classes?
I did a few Google searches for “one-legged indoor cycling class” and found a number of articles, from knowledgeable people, recommending against removing (un-clipping) one foot while pedaling here, here, and here. That last link is from pdf from Spinning called Keep if Safe and includes this:
PEDAl STROKE
Do not pedal backwards or with one foot out of the toe cage or cleat. Pedaling with one leg is an advanced drill that elite cyclists practice on trainers–not fixed-gear bikes like the Spinner bike. On a Spinner bike, these drills have absolutely no benefit, since muscles work the same and burn equal numbers of calories pedaling forward and backward.
While I completely agree that pedaling backwards is dumb/goofy, pedaling with one leg is a very commonly recommended technique, for cyclists of any level.
Another Google search returns dozens of articles and videos advocating for this exercise. None of them issue any caution that this is an exercise reserved for a professional, on the contrary. It's the new cyclist who needs to learn to pedal properly and efficiently.
Here's none other than Joe Friel describing his recommended pedaling drills:
Let’s get rid of the energy wasters in this Base period. Drills will help you to pedal better. Following are the common ones I use with the athletes I coach. They may be mixed together in a single workout or each may be done by itself as a workout.
* Isolated leg training (ILT) drill. This is the quintessential pedaling drill, the one you should do a lot in the early weeks of Base. It’s done on an indoor trainer. Unclip one foot and rest it on a chair next to the bike so you are left to pedal with only one leg. With the bike in a low (easy) gear turn the crank at a comfortable cadence. The first thing you’ll notice is that getting through the top of the stroke, the 12-o’clock position, is difficult. Focus on smoothing this top transition. At first you may only last a few seconds before the hip flexors fatigue. When that happens switch to the other leg. When it fatigues clip both feet in and pedal for a few minutes applying what you have learned in the single-leg pedaling. Repeat the drill several times throughout the workout.
While I'm the first to raise my hand and say; “just because Joe Friel says something, it doesn't automatically mean that it's applicable to our classes“, I'm using him as an example of the clear conflict between what's recommended for indoor cycling vs. outdoor cyclists. Mr. Friel says this is the quintessential peddling drill (representing the most perfect or typical example of a quality) and yet others are saying this will hurt your participants – or is completely useless.
So where's the concern coming from?
Clearly there's a fundamental difference between a bicycle on a trainer and an Indoor Cycle. The bicycle has a freewheel that prevents the monument of the drive-train from pedaling you = you have control to easily stop the rotation. Indoor Cycles (with the exception of the CycleOPs) are fixed gear. The perceived (rightly) danger comes from the heavy, weighted flywheel spinning out of control and potentially carrying the loose pedal into the free leg of the rider.
So why didn't that appear to be a problem yesterday?
We were riding indoor cycles with magnetic resistance. I perceive this has two design differences that mitigate the safety issues that exist, as compared to Indoor Cycles that use friction resistance. If you've had the chance to ride (or your club has updated to) the Schwinn AC, Keiser M3 or Freemotion S11 you'll probably recognise the following;
My perception (and I've ridden everything) is that magnetic cycles have less rotational flywheel inertia than friction. By design, the weighting of the flywheel of friction cycles is around the perimeter, which creates a greater amount of inertia = harder to control or stop. Magnetic cycles have either a smaller flywheel (M3) or in the case of the AC and S11, the outer diameter is aluminum. In all three there's a feeling of less of the flywheel's influence / control of your pedals.
The amount of resistance created by the magnets increases with RPM = you don't see run-away pedals, even starting with a very low level of resistance.
Is this right for your class?
If you're teaching on a magnetic cycle, you'll have to decide for yourself if you want to add Single/Isolated leg training drills into your class. I wouldn't consider this if you are on friction resistance cycle.
Start by experimenting alone by yourself. Spend some time practicing with one foot detached. How does if feel to you? Could you safely introduce this into your class? Maybe as part of the warmup? How would you cue this?
I'm going to begin on Thursday. My initial thoughts are to offer it, with a modification to stay clipped in of course. I'll find a fun track around 70ish RPM, have everyone dial on a nice flat road feel – just below their base wattage and let everyone experience what it feels like.
I'll let you know the classes reaction 🙂
NOTE: If you're teaching on the FreeMotion S11.9 cycles, the power readings will be disrupted with either foot un-clipped. You'll want to explain to your class that the power is measured off the left crank. Removing the left foot and using just your right, results in near zero wattage displayed. Peddling with just the left foot appears to confuse the computer and I was seeing what looked like double the wattage. Both the Schwinn AC and Keiser M3 will display correctly.
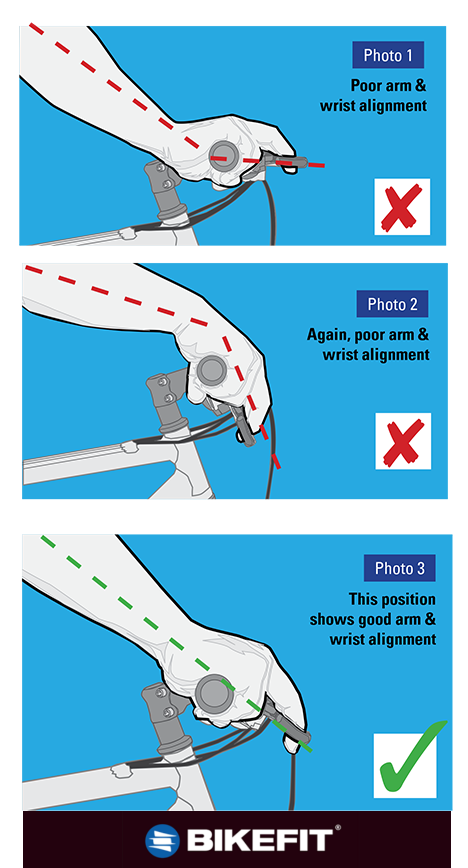
Paul Swift from BikeFit sent out an infographic showing proper wrist alignment – their example is for a mountain bike, but the concept is identical no matter what you're riding. If you've been to WSSC, BikeFit is the company who provides the very popular bicycle shoe cleat alignment / adjustment service.
Complaints about hand numbness are typically the result of riding with hyper-extended wrists. We've explored the need for proper hand position in detail here at ICI/PRO in these posts:

 Yoga can be a great addition to any endurance athlete’s training plan and overall health. It can improve your strength and balance, as well as give you a heightened sense of how your body moves. But like all aspects of fitness, it’s not without risks.