ICI/PRO Podcast 0018 – 100818 Drills And Skills Ride Delivered by Amy

ICI/PRO Podcast 0018 – 100818 Drills And Skills Ride Delivered by Amy


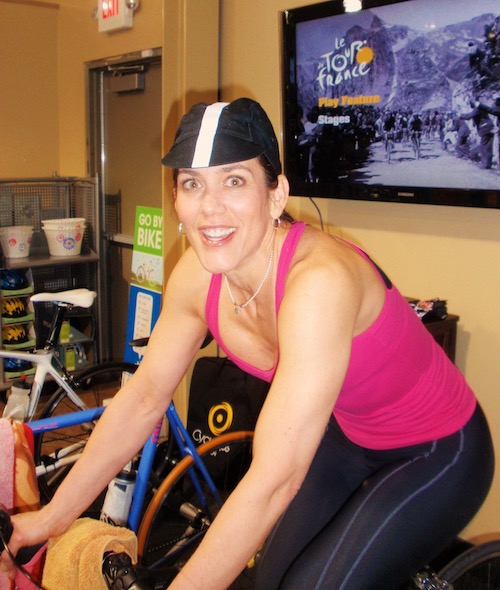
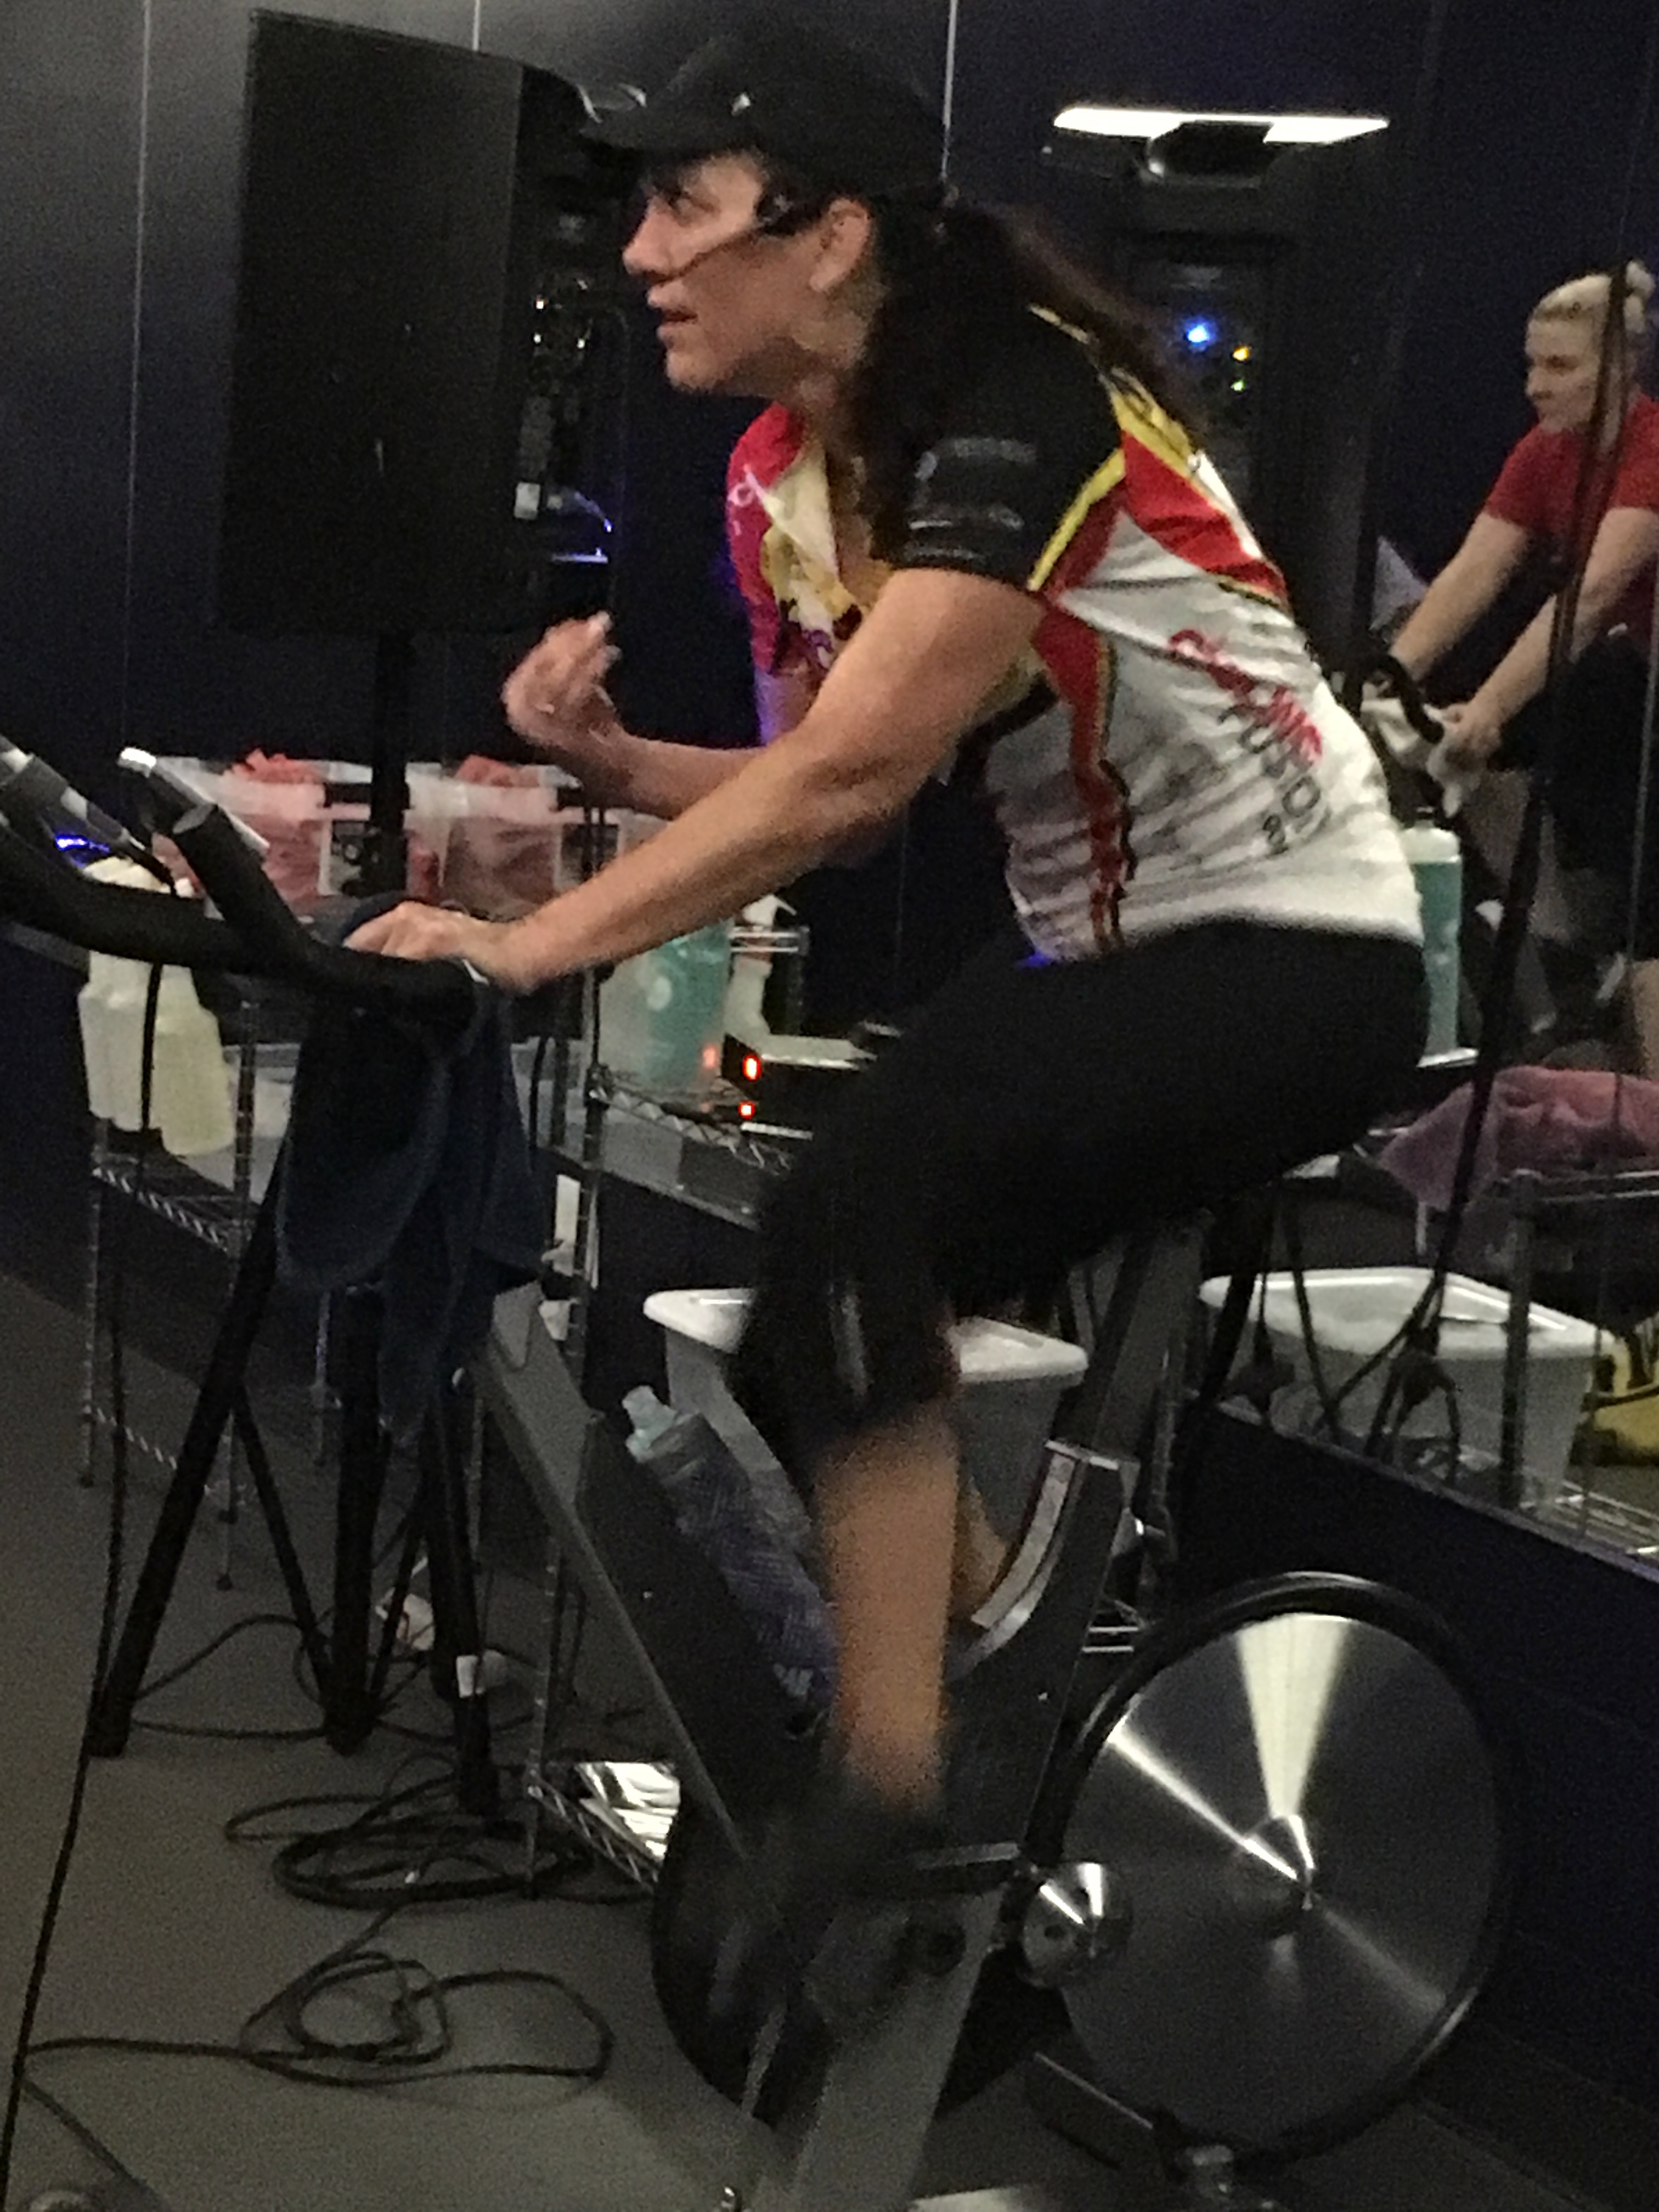
“This weeks ride is from Amy! – This is a copy of one of the rides that Amy does during the Cycling Fusion Certifications to show the new instructors a sampling of various drills that they can use to build their rider’s skills.” Joey

Short version of the ride PDF is available HERE.

Get all of the ride details HERE.

Get all of the ride details HERE.

Originally posted 2018-10-19 20:51:02.

The Weekly Ride – 10/29/18 Amy’s Mixed Ride

The Weekly Ride – 10/29/18 Amy’s Mixed Ride

Welcome to the The Weekly Ride by Cycling Fusion

Welcome to our new era of The Weekly Ride, you get:
  • Full Ride PDF
  • Apple Music Playlist
  • Spotify Playlist
  • File to Download the Ride directly into My Fitness DJ (Yes, no Programming)
  • The Ride will be available for purchase in the iClass Builder Store (No Programming)
  • A Podcast of the ride being delivered by a master instructor.

(more…)

Originally posted 2018-11-05 08:33:43.

The Weekly Ride – 05/28/18 Mixed Ride

The Weekly Ride – 05/28/18 Mixed Ride

Welcome to the The Weekly Ride by Cycling Fusion

No more hunting for new music or counting out cues to develop your ride profile.  Here is your ready to ride profile for a fully choreographed ride, that can be displayed from your phone, or printed out onto cue cards for your class.  This ride is timed out, down to the second, to make your life as easy as possible!

(more…)

Originally posted 2018-05-31 23:40:19.

Indoor Bicycle Safety – Bike Movement

Indoor Bicycle Safety – Bike Movement

While it may seem redundant to say, most indoor bikes do not move. Please, stop and think about that for a moment. We are not talking about forward motion or distance, of course an indoor bike (or an outdoor bike on a trainer) does not move forward. But what about the other motions that are involved in cycling.

When a rider is out of the saddle, most riders sway the bike from side to side a bit. Why does this happen? Generally, it is the mechanical reality of the situation due to applying extreme power to each pedal. Since the pedals are not on the centerline of the bike, applying a large force to the right pedal will, physically speaking, apply a rotational force that pushes the top of the bike to the right and the bottom of the bike to the left. Without this counterbalancing motion, the wheel would kick out to the side. By swaying the bike in the opposite direction, the amount of force that can be applied to the pedals is increased without crashing.

The second primary aspect of swaying the bike is that it allows the rider to engage their upper body (especially core and arms) into the movement which increases power.
Take a moment and watch some of the pros race, they only have about a 12 degree sway; less than most avid riders. This is due to their efficiency and power.

The second motion that we want to consider is the flexibility of the bike frame. I learned a great deal about this from Kirk Frameworks Co. (http://kirkframeworks.com). There are three basic types of frame flex: Vertical, Torsional and Bottom Bracket/Drivetrain. It is important to understand that these different types of frame flex are more or less related to each other.

Vertical Flex
A frame with the proper amount of vertical flex will have a very smooth ride. More importantly, it also offers better control and handling.

Lateral/Torsional Flex
Torsional flex is when the head tube and seat tube are twisted relative to each other, and thus are no longer in the same plane. All frames, regardless of material or quality have a good deal of torsional flex. Try this sometime — sit on your bike with it pointed straight at a mirror. With your butt on the saddle and your hands on the brake hoods, push your hands to the left and your butt to the right. Watch the frame twist.

Bottom Bracket/Drivetrain
When a rider pushes down on the pedal he also, for better or worse, pushes sideways. This is because the pedal is off to the side of the bike and is not in the bike’s centerline.

When the rider pushes down with the right foot the bottom bracket flexes to the left. When the bottom bracket is pushed to the side, it stays there until the force that was holding it there is released. So at the top of the pedal stroke the bottom bracket starts its sideways move and at the bottom of the stroke it returns to neutral. In returning to neutral it applies that returned energy to the drive train and then to the road. This flex and return smoothes out our power transmission to the ground, making acceleration smoother and optimizing traction.

Frame Flex

With the exception of a few new bikes on the market, most indoor bikes do not provide movement side-to-side. Because of this limitation, riders must emphasize relaxation when riding and allow gentle upper-body movement. Attempting to maintain a still upper body can place the spine and surrounding muscles at risk from the forces being generated by the legs.

Originally posted 2019-02-08 21:41:46.

You’re making exactly the same power standing – as you are seated

You’re making exactly the same power standing – as you are seated

15359327455_4dfe8b955e

“Why do I make less power (fewer watts) standing, then when I'm seated?”

This a a great question that we get often. I loved John's answer, and so I have done a few edits and present it here….. Joey

A great questions from one of the riders in a Performance Cycle class. An observation that shows he's paying attention plus it gives me the chance to clear this up, so you can properly explain this anomaly to your participants.

The short answer is you don't* If resistance and cadence remains the same, in or out of the saddle doesn't matter. The amount of power/watts you are creating doesn't change… because it can't.

The bike decides the right amount of power

You know that Power = Force x Cadence. So let's assume this participant is riding seated and pedaling @80RPM. Their resistance is set to a level that results in the console display showing 150 watts.

Our legs create the perfect amount of force required to get the job done, which in this instance is overcoming the resistance to pedal @ 80RPM. If your resistance setting on the cycle requires “X” amount of force to push down the pedal, your muscles will create exactly “X” – no extra force is created and no less. The combination of that force, multiplied by a cadence of 80 RPM results in the power meter showing 150 watts.

In fact there's an actual law of physics that says that it's impossible to get the same amount of power out of a machine with a reduced amount of power added into it – which is why I'm saying the amount of power/watts you are creating stays exactly the same, if you make no change other than to stand and ride out of the saddle.

“But then why does the power meter show my watts lower, when I'm standing.” 

My response was; “you're right it does and there's a simple answer why…

Let me begin with the basics. I teach at a Life Time Fitness Athletic Club and we ride FreeMotion S11.9 with the Carbon Drive belts. FreeMotion's measure power only through the left crankarm as you can see here.

Freemotion power seated vs standing

This is my personal S11.0 (the home version) which is why it's black and not the normal silver color. The electronics are identical across all models.

Yes, the meter shows a drop in power…

Many of us who teach or ride on this Indoor Cycle have noticed that the power meter will show a lower wattage number when you transition out of the saddle, without giving any thought as to why. As I explained above, it shouldn't > the wattage number should remain the same. Again; Power is equal to force times cadence. If you didn't change the resistance setting, and you're maintaining the same cadence, the power meter should continue to show the same wattage… but it doesn't because >>>> your legs aren't the same strength.

Your dominate (stronger) leg does more work 

The force required to pedal is divided between your two legs – but not equally. Because many (if not all) of us have one leg that's stronger than the other, our brains automatically proportion the amount of force from each. Remember: our legs only create exactly what's needed. Unless you consciously choose otherwise > more force is unconsciously asked from the stronger leg and the opposite leg adds what's left, equaling the total required.

Some quick research showed me that it's very common for one leg to be stronger in most people. Your dominant/stronger leg is typically the same as your writing hand. Since ~90% of people are right handed, the majority of your class will be seeing lower wattages when the come out of the saddle > because they are doing more work with their right leg. The FreeMotion's left hand power meter sensors are seeing a lower amount, of the total amount of work, as coming from your left leg.

Because this IC can only sense force on the left side, when you stand your stronger leg carries a greater percentage of your body weight = the wattages appear lower.

So standing or seated at the same cadence, you continue to create the exact same amount of power. It's just that the power meter doesn't see all of it and displays the reduced amount = the misperception that we create less power standing… which you now understand isn't true 🙂  

Make this a feature (not a bug) in your class 

Since the Freemotion can show leg strength disparity, why not use it as a training tool?

Novel idea, right?

Start by teaching everyone which leg is their stronger/dominate leg. The simplest way I know is by doing Step-Ups on a box or step raised to the proper level as shown in this short video.

This exercise was eye opening to me, when we did them in Boot Camp. Learning that my right leg is considerably stronger, I'm now really focusing on making my left leg do more work. Hopefully over time, a stronger left leg will result in me having a higher FTP and greater overall muscular endurance.

I suggest having your riders do this as an after class activity > or you could bring a box into your studio and have everyone take a turn.

Using a pair of reasonably sized dumbbells, perform 8-12 reps all on one side and then the other. It should be quickly apparent which (or if) they have a leg strength disparity.

We'll explore drills to exploit this feature and help riders train their weaker leg in future posts! [/wlm_private]

* I'm not referring to pedaling efficiency here, which is a completely different subject.

** Please let me know if this isn't clear, if I've confused you or you have an alternate method of explaining this.     

Save

Save

Originally posted 2017-09-14 07:38:43.